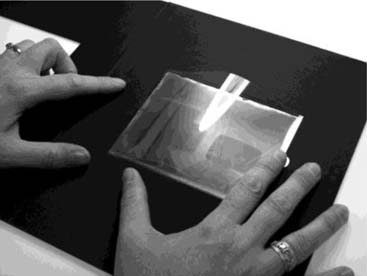
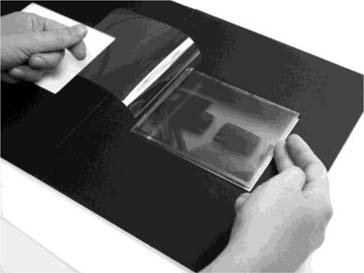
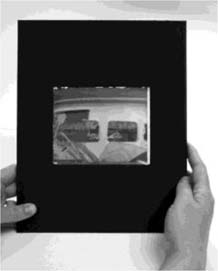
Cut three pieces of black rag board of equal dimensions. For directional purposes, the boards will be referred to as “a”, “b”, and “c” (see Figure 1). Board b should be slightly thicker than the glass plate to be housed.
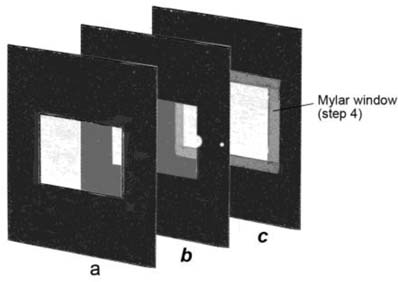
Figure 1. Boards a, b and c, in respect to each other. The Mylar on board c is detailed in step 4.
In board b, cut a window that is approximately 1 mm larger on each side than the glass plate to be housed. The plate needs to be easily removable from the housing, but shift very minimally while encased. Cut a half-circle into the right edge of the window. This will serve as a thumbhole in the final housing. Along the right edge, use a cork-borer, or other tool, to cut a round hole halfway through the board for the inlay of the magnet. A cork borer is an excellent tool for this application because a full set will make precisely the right size hole for inlay of the magnet, without leaving gaps in the surface.
Boards a and c should have bevel cut windows, slightly smaller on the inner edge than the dimensions of the negative. This is easily accomplished by using the window of board b as a template: lay it over the board to be cut, and trace around the window opening. The bevel should then be cut towards the center of the board from this outline.
Cut a piece of .004″ Mylar®, about 2cm larger than the window of board c. Use 3M double-coated tape to affix the Mylar® over the window, bevel side out (Figure 2). Apply PVA adhesive to the perimeter of board c and affix to it board b, assuring that the windows are aligned and that the thumbhole is to the right; allow this to dry under weight. This new board will now be referred to as “bc”.
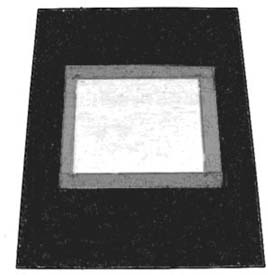
Figure 2. Board c with the Mylar window overlay.
In board a, make a hole halfway through the board for the inlay of the second magnet. The positioning of this hole should complement the magnet in board bc as closely as possible. Do this either by measuring the position, or by laying board a next to board c so they are bevel side down, then simply estimate the position of the second hole (Figure 3).
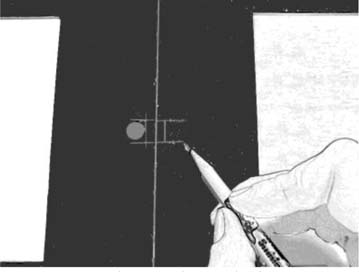
Figure 3. Boards a and c with their outer edges aligned.
Inlay the magnets into the holes, taking care that the North and South poles will be adjacent when the folder is closed. Fix them in place with small pieces of the 3M tape.
Hinge the boards together in this manner: to account for the difference in thickness between boards a and bc, place a piece of scrap board to bolster up board a, and hinge boards a and bc together with a strip of black linen tape (Figure 4). Close the folder and dry under weight.
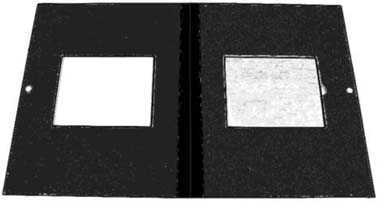
Figure 4. Boards a and bc hinged with back linen tape.
Line board a of the folder with a sheet of acid-free black paper: cut the sheet slightly larger than board a (the perimeter will be trimmed down once attached, to achieve perfect sizing). Cut a window into the sheet that is the same size as the window in board a, and positioned so that the distance between the window and gutter is equals that of board a, minus 1 mm.
Apply PVA to the perimeter of the board a, and its window, and to what will be the inner edge of the lining paper. Affix the lining paper to board a, taking care that the windows are aligned and that the inside edge of the paper is about 1mm from the gutter of the hinge (see Figure 5), and covering the magnet. Once this is dry, trim down the lining paper flush with the edges of board a.
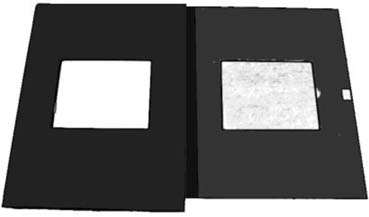
Figure 5. Housing with lining paper on the left side.
To create the flap for holding the glass plate in place, cut a piece of .004″ Mylar®, equal in length and 4cm wider than the window in board bc and round the four corners (Figure 6). Set this aside for insertion once the housing is completed.
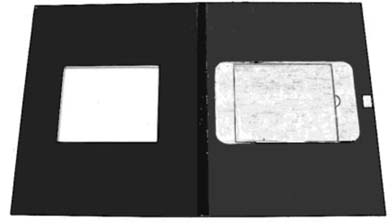
Figure 6. Housing with the Mylar flap overlaying the object window.
Cut a piece of lining paper for board bc, following the same procedure as in step 7. Reinforce the perimeter of the window of the lining paper (on what will be the surface of the sheet that will be glued to board bc), with a piece of .0001″ Mylar®, cut to approximately 1.5 cm in width, all the way around (Figure 7). Affix this with the 3M tape.
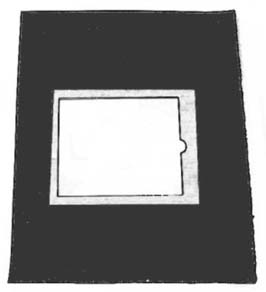
Figure 7. Lining paper with a .001″ Mylar window surrounding the window.
Apply PVA to the top, right, and bottom edges of board bc, and to the inner edge of the lining paper and the top and bottom edge of the window. Use scrap material to create a straight line of adhesive approximately 2 cm past the corner of the window (Figure 8). Affix the lining paper to board bc, taking care that the lining paper's window edges are aligned, and that the inside edge of the paper is about 1mm from the gully of the hinge. Once this is dry, trim the lining paper so that its edges are flush with the edges of board bc.
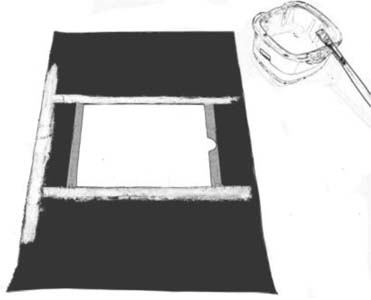
Figure 8. Lining paper with PVA applied.
Line the outer spine of the folder with a piece of black linen tape.
Insert the Mylar® flap created in step 10 under the left and right edges of the lining paper of board bc to finish the housing.
